Sunday, December 30, 2012

Why this is important to me

I sometimes wonder what my 92 year old grandfather would think about this urban homesteading concept.  Now it's a movement that is outside the mainstream, but gaining momentum.  For much of his generation it was just a part of life.  What is taking me hours of reading and research was likely common knowledge.  Now many of us are craving that experience of growing our own food and of being part of the food cycle rather than just a consumer.

I know some people do it for hobby, some to rage against consumerism, some for fear of impending doom, and some just because they want to know more about where their food comes from.

I do it for my smalls.

I do it so we have something meaningful and productive to be a part of together.  They help and in doing so are valued and productive members of our little family.  We tinker around together in the front yard, find bugs, name birds, and even talk to our neighbors.

Over the last few days we have made tremendous progress in the front yard.  Robbie and Victoria helped to move much from the driveway up to the yard.


And before we finished up, Victoria stopped to check on and even sample the spinach. 

One of my biggest struggles as a parent is not knowing if I am making the right choices.  Am I helping my children build a foundation that will serve them well as adults?  Am I raising them in such a way that they'll want to visit when they grow up?  I think this little project is good for all of us and what we reap will extend far beyond what we've sown in the soil.

Friday, November 30, 2012

We grew this!

Just one month after planting seeds, we had enough to make this delicious little salad!


It was a combination of a first cut off our mixed greens and the leaves of the beets that needed to be thinned.  We even had a few end of the season tomatoes to complete it.  Even the smalls enthusiastically tried our salad.  I don't think they actually ate any lettuce, but the didn't scoff at it either so I'll call it a good day.

Wednesday, November 28, 2012

A winter garden

We are fortunate to live in an area that has remarkably mild weather and this fall provided ample warmth and sunshine to start a winter garden even in late September.  With the one of the beds finally built and filled with dirt, I headed out to see what we could find in terms of seeds.

I started to head down that route of obsession and over researching, but having the kids in tow while shopping and running out of time to get things in the ground pushed me to be decisive.  I settled on two types of beets, two varieties of carrots, mixed greens, arugula, parsley, cilantro, lettuce, chard, green onions, and spinach.  I planted, watered, and watched. and watched and watched and watched.  Here is how things looked just about a month after planting.


It was too late in the season for winter crops like broccoli, but we happened upon O'Donnells Fairfax Nursery. The guy who helped was a super enthusiastic about gardening and the nursery ground were full of plants in all sorts of arrangements and containers.  It was inspiring.  He still had a handful of starts so we picked up some broccoli, romanesco, and kale.  It meant getting a second box together quicker than we planned, but we did it.


Tuesday, October 30, 2012

Construction


With the mental hurdles largely cleared, it was time to get down to business.  Getting the wood home was no small task, but thankfully my compact car didn't get the memo that it's not a truck.  All this wood in the car proved irresistable to this particular small.  Can you blame him really?


After debating cedar or redwood or reclaimed or cinderblocks or..., I settled on inexpensive 2x6 douglas fir.  Each bed would be 4 ft by 8ft and I could add 6 beds total.  I've read on the interwebs that douglas fir will not last as long and isn't as rot resistant, but it will suffice and allow us to give this gardening project a go.  To secure the beds, we used corner metal brackers and screws.  Both the kids took great delight in trying their hands at construction.


x


Once we got into the swing of it, they came together fairly quickly.  As soon as we placed them in the front yard it was apparent I had underestmated the severity of the slope of our front yard.  I'll leave it to a a mathemetician to figure out the degree of it, but one end of the 8 foot bed was 10 inches lower than than the other.  It was tempting to just leave it, but a closer to level bed, would give the yard a better look and our plants better conditions to grow in.

The solution to this involed another trip to the lumber yard, diagagnal cuts, additional supports and the dissasmlbing and rebuilding of the already complete beds.  These missteps and the trial and error nature of this project have invited me to slow down and remain steadfast, without an immediate reward.  It's not been perfect.  I've made errors and had to redo the work.  Honestly, if it weren't for the piles of wood in the yard and the insatiable desire of the smalls of my home to build our garden beds, I might have become discouraged and found a reason to let the project go.  Instead, we made it work and two months after my initial wood purchase, we had beds that were ready for planting.

Thursday, October 11, 2012

I suck at blogging

When I set out on this little urban homesteading adventure, I had no idea how hard it would be.  Sadly, I am not talking about the physical work.  That's hard, but I do it, and then it is done.  The hard part is embarking into territory in which is way outside my area of expertise, then standing like a deer in the headlights for fear of making the wrong choice.

We wanted to make raised beds in the front, but that begged the question of what to use.  I could use reclaimed wood if I could find it, but that's not uniform and not always available.  According to many books and internet sources, redwood or cedar are the best bets for applications like raised garden beds.  So I trotted down to the local lumber yard to price them out.  While I am sure redwood is awesome, 6 raised beds would set us back a pretty penny.  I'm optimistic our beds will work out well, but I can't justify spending a ton of money for something I'm just learning.  Thankfully a helpful young salesmen saw the panic and sticker shock in my eyes and suggested I give douglas fir a try.  It doesn't have the same lifespan, but it will do the job and let me try my hand at this without sinking too much money in it.

With that decision made, I had to think about how to fill said beds with dirt.  There are many different schools of thought on this, all firmly convicted that one way is right and another wrong.  You should use dirt, or compost and mix in vermicilite and peat moss.  Others think peat moss is an absolute no no.  Then at the garden store, there are another half dozen selections with such a wide range it price it was hard to know what to do.  I could have spent anywhere from $40-$140 to fill a bed, depending on what I used.  At one point I panicked and just left the store with nothing.  I was convinced if I came home and did more research or went to another store I'd be sure to find just the RIGHT answer.  Eventually I just went and bought a combination of garden soil, compost, manure, and peat moss.

At this point, I had yet to make decisions about what to plant, how close to plant it, when to plant it, etc.  I had a stack of wood,bags of dirt and an impending sense of doom that this was all a very silly idea.  I was really struggling with this, like losing sleep over why I found it so hard to just put stuff in dirt.  I was so caught up in doing everything just right, in doing it perfectly that I wouldn't do anything at all.

This little voice that says "only perfect or not at all" stands in my way all the time.  I think about getting out a blog post, but then stop because I think "oh I should have pictures, but the lighting is bad so I can't take pictures."  Or then I think, "It's been so long since I blogged, that I better make it masterpiece if I'm going to bother at all."  The end result is the same; I get nothing done.

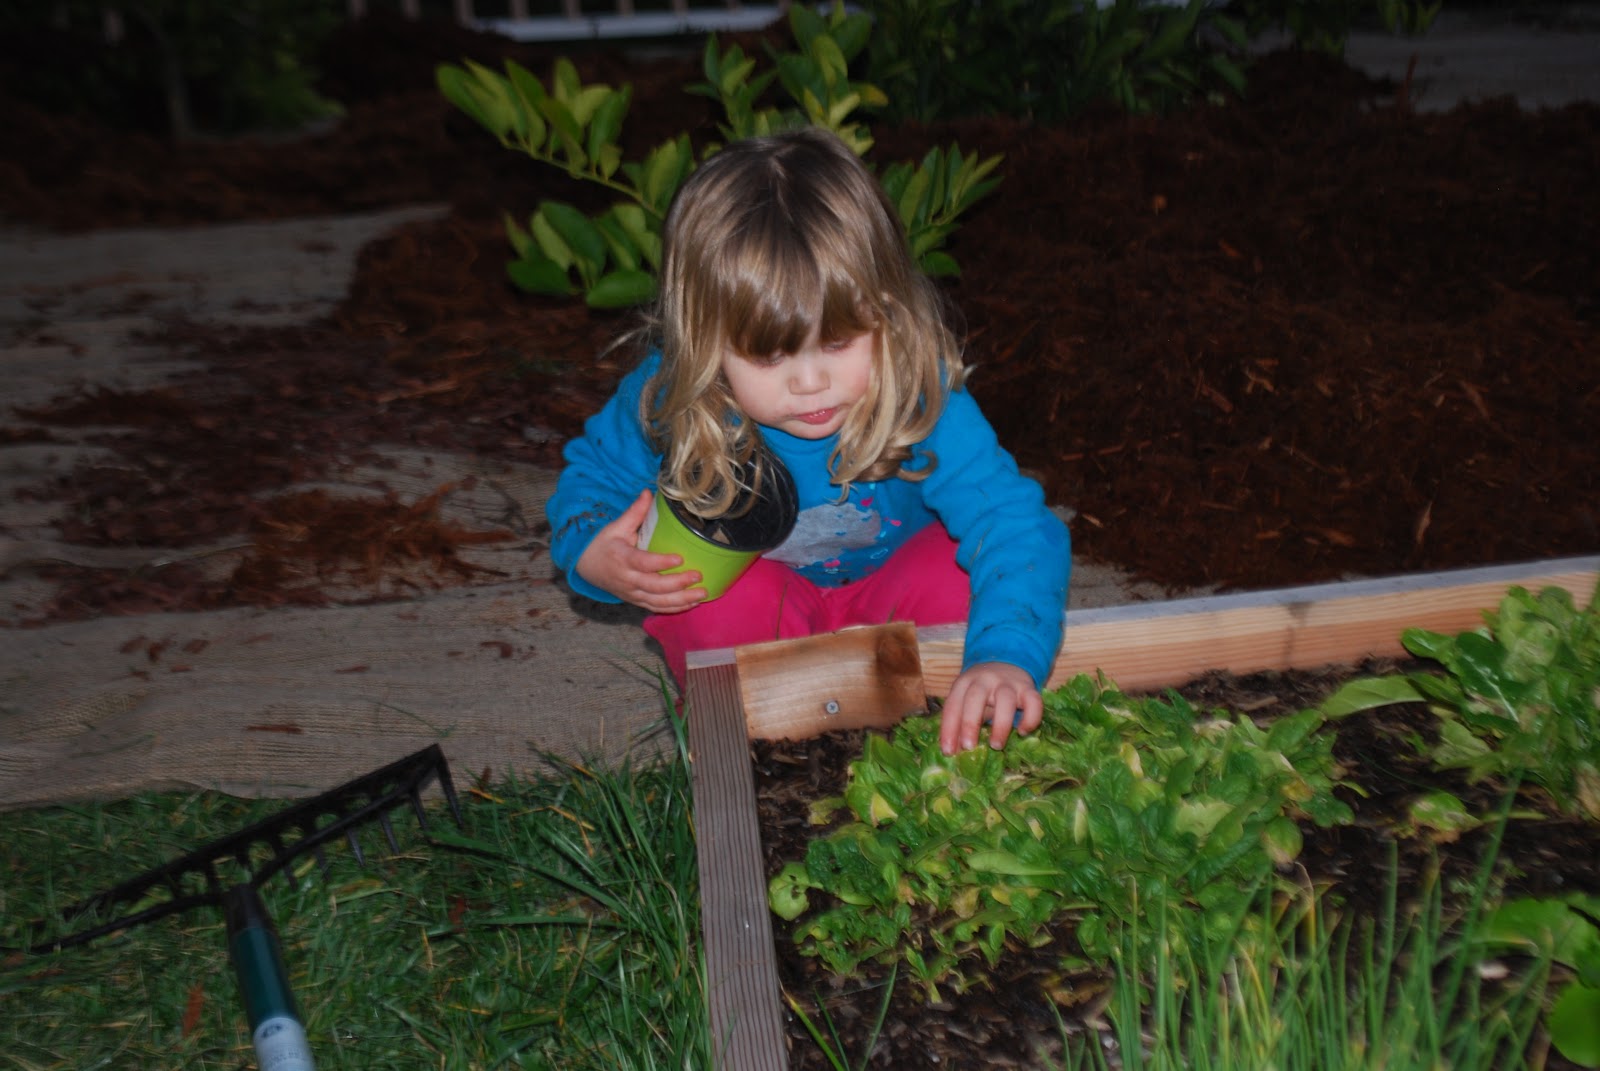
So I finally decided I just needed to build some beds, add some dirt, throw in some seeds and watch magic happen.  I did just that, it was cathartic, and our winter garden is sprouting.

More to come, as soon as the lighting is perfect, the yard picked up, the camera battery charged...

In the meantime, I am going to continue on my journey to suck at blogging, but at least I'm doing it!


Thursday, June 28, 2012

Going Green by Removing the Greens

We moved into our little homestead just over a year ago.  It has adorable front yard with a decent size lawn, rosebushes, and magnolia trees.  It's fenced in so our smalls are somewhat contained from running a muck.  We even have a teenage neighbor who is willing to earn a buck by keeping it mowed.

The problem with it is two fold.  1-It requires quite a bit of water to maintain the lush appearance.  2-It would be the best space to really garden and make a go a this urban homesteading idea.

The conflict is keeping up this image of what I thought a front yard should look like, vs what really suits our needs.  Truthfully, we are rarely out there except to trim roses or wave to the neighbors.  My husband really wanted to plant a few citrus trees, and I really want a vegetable garden.

So we are going to let the lawn go and in it's place have a small grove of citrus trees and begin to build raised garden beds.  If all goes well, we should have things in place for next spring's garden and if we are really on it, maybe a winter garden this year.

Stay tuned for future posts on adventures in woodworking the inevitable ER trip that will come from a novice trying to cut wood and build garden beds.

Monday, June 18, 2012

An Early Jam Session

Don't worry, I'm not adding folk singer to my list of aspirations.  I'm talking about that fruity goodness that comes in a jar.  A quick trip to the store ended in a unexpected bounty of perfectly ripe and delicious organic blueberries.  I bought 10 pints and while I imagine my kids would have gladly eaten them all right away, I saw the perfect opportunity to practice my canning skills.  Or I might be a fruit hoarder, but that is a different conversation.

The driving force behind making my own jam was the overly sweet taste most store jams have.  Even the less sugar brands taste more like sugar than fruit.  Thanks again to the inter-webs, I found the solution in Pomona's Universal Pectin.  Pectin, in case you like to know these sorts of things, is what helps thicken jam.  Traditional pectin uses about one cup of sugar to one cup of fruit.  Holy sugar Batman.  Pomona's uses as little as 3/4 cup of sugar for 4 cups of fruit.  You can even try honey, agave, stevia or juice, but I'm opting for regular sugar as I learn the art of making jam.  For this batch of jam, I used 4 cups of mashed blueberries, 1/4 lemon juice, 3/4 cup of sugar and the 2 tsp of calcium water and 2tsp of pectin from the Pomona's box. 


Beyond the ingredients you need a few pieces of cooking equipment.  You can buy pots just for canning, but so far I've used what I have.  I did buy a jar and lid lifter, because handling scalding hot jars is hard  (as I learned the hard way on my first canning adventure).


I also highly recommend having a pint sized sous chef, although you will may need to factor in additional berries, as it's impossible for smalls to resist fresh berries (at least for mine it is).

There are detailed directions in the Pomona's box but here is the gist of what I did.  Boil the jars in a big pot and keep the pot simmering while you cook.  Do the same thing with jar lids in a smaller pot.

In a cup mix the sugar with the pectin.  In a pan, mix the mashed blueberries, calcium water, and lemon juice.  Heat it to almost boiling.  Mix in the sugar/pectin mix, stir rapidly and boil for 1-2 minutes.  Now this is where I wish I could convey the smell and taste of this perfect combination of sweet and tart.  It is so good.


After the jam is cooked, take it off the burner.  One by one, take a jar from the pot, fill it to 1/4 inch of the top, wipe the rim of the jar so it's perfectly clean, put a lid on it and then gently tighten a screw band.  When all the jars are filled, place them back into the big pan of still simmering water.  Return it to a boil and let it boil for 10 minutes.  Take the jars out and let them cool.  As they are cooling, you will likely hear a popping sound meaning the jars have sealed.

For an hour of time, and $10 in materials, I have 4 beautiful jars of delicious, low sugar, super fruity jam goodness.  I have decent skills in the kitchen, but I'll confess the idea of canning intimated me.  but I will say this was much easier than I imagined.  Now that I've done it, I can't imagine buying jam again.  Give it a try, it's worth the effort and I bet you will be a convert as well.


Friday, June 8, 2012

The Near Crouton Catastrophe of 2012

One Friday evening several months ago I made big a tasty salad for dinner and I wanted that little crunch that only croutons would provide.  I dug into the cupboards, but there were none to be found.  I thought out of the box, maybe we had some tortilla chips or crackers I could crumble up.  Negative on that front too.  So I was faced with the option of a late Friday afternoon trip to the store with two small people in tow, or no crunch for my salad.  Panic set in and I felt my heart began to race at that thought of rounding everyone up, getting into car seats, driving to the store...  I knew that if I went, it was unlikely the trip would be quick, easy, and without tears from one of the three of us.  I also knew I wanted crunch for my salad.

That's when the light bulb went off...  couldn't I make some?  The answer according to Google was, yes I could.  Low and behold oven+bread+olive oil+seasoning = croutons.  I know this would be painfully obvious for most people, but the near crouton catastrophe of 2012 was an eye opening experience.  I'd become reliant on the grocery store for dried out crusty bread, when I could easily do it myself, control the ingredients, use old scraps of bread I might have otherwise tossed, save money and use a lot less packaging.  I began to wonder what I else I could and should do myself.  What else could I do to become more self reliant?

So began this journey. Welcome.  I can't wait to see where this goes.

By they way, croutons are easy and yummy.  Here is what I did:
-Preheat the oven to 350 degrees
-Slice bread into relatively uniform bite sized cubes (I've used whole wheat, oat nut, and leftover sourdough so far)
-Spray lightly with olive oil (you could also use butter and be more heavy handed with it to get a deeper flavor, but a tiny bit works as well)
-Sprinkle with Trader Joe's seasoning blend (you could use anything here too.  I imagine a bit of parmesan cheese would be awesome)
-Bake on a cookie sheet about 15 minutes until your croutons are toasted and tasty